Open the bag where the fat is coming off anyway
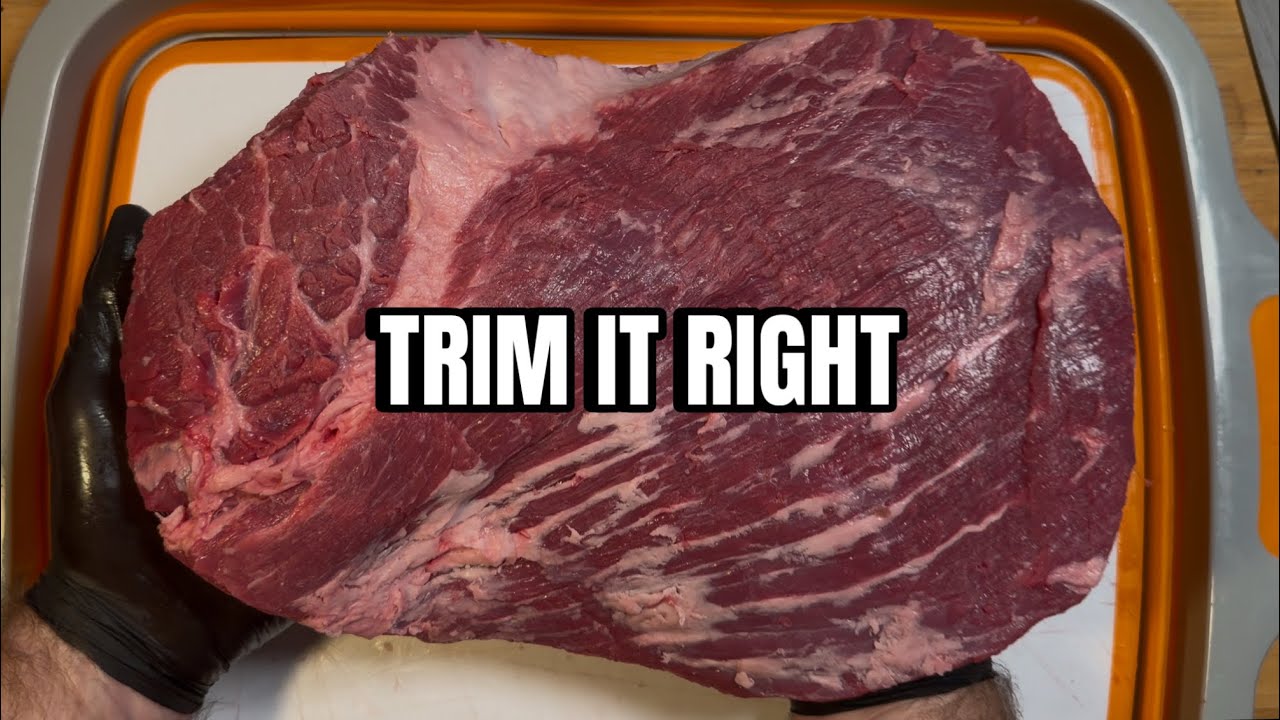
The trim starts before the knife touches the meat. Ross slices the Costco packaging open right along the thickest part of the fat cap, the section he already knows is coming off. Opening the bag there means any slip of the knife lands in fat headed for the trim pile, not in the fat he plans to leave on as the brisket's protective layer.
Next the brisket gets patted down with paper towel. It doesn't need to be bone dry, but getting most of the surface liquid off matters: a wet brisket slides around the board and is harder to grip, and a clean, dry surface makes the fat and silver skin easier to see and cut.
Then the obvious fat goes first. Ross starts with the ridge of fat he calls the mohawk: grab it, pull it upward, and slice it off. As he puts it, it's really not that complex. Pulling as you cut keeps the fat under tension, so the blade follows the line between fat and meat instead of wandering into either.
After that comes the big, thick fat cap where the bag was opened. Taking it down evenly takes precision and some time, and Ross is clear that it isn't a single pass. You come around the brisket a number of times: the first lap gets the bulk off, and later laps refine it.
Clean up the bottom: silver skin and hard fat
With the fat cap reduced, Ross moves to what he calls the bottom, the side without the big fat cap. Here the job is shaping and cleaning, and the main target is the silver skin, the thin, shiny membrane lying over the meat. In his words it's one of those things that just won't render down, so it comes off until you're looking at bare meat.
That's sound advice. Silver skin is a tough connective tissue that doesn't break down over a long cook the way the collagen inside the meat does. Whatever is left stays chewy on the plate, and it also sits between the rub and the meat.
The same logic applies to hard fat. A packer brisket carries soft fat that renders well over a long cook, and dense, waxy hard fat that mostly doesn't. The thick deposits that won't render in the time the meat takes to cook come off; a thin, even layer stays where it's useful.
Near the flat, Ross works the bottom edge until it's rounded and smooth, then comes back for a sharp point that is still sticking out. The flat is the long, thinner, leaner muscle of a whole brisket; the point is the thicker, fattier muscle that sits on top of it at one end. The flat's thin corners are the parts most likely to dry out or burn, so they get rounded rather than left as tips.
Shape it like a softball, not a box
Ross's goal for the whole trim is a brisket that is "as aerodynamic as possible." As he explains it, there's a lot of hot air moving around inside a smoker, and it moves hard. Edges and thin flaps sit right in that airflow, where they crisp up and burn long before the thick centre is ready. A rounded, streamlined shape lets heat and smoke move around the meat evenly.
To get there he goes back up to the top near where the mohawk was and rounds it out "like it's a softball," then keeps working the whole brisket into an oval. He stresses using your hands as tools: pick the brisket up, move it around, push and pull the meat to expose the next edge. It doesn't have to sit flat on the board while you work out the cut, and Ross calls pushing and pulling an extremely important tool in the process.
The two faces get different treatment because of how he cooks it. The side he considers the bottom gets a lot of fat trimmed off and all its silver skin removed; that side goes down on the smoker, and it stays down when he foil boats the brisket. On top he keeps the fat cap at around a quarter inch. His reasoning is that the bare side builds bark underneath, while the fat cap on top gives protection throughout the entire cook and drips down to keep the meat moist. He notes that some people consider those sides the other way round.
Nothing trimmed goes in the bin. Ross saves every piece, and with a meat grinder the trim becomes hamburgers and smoked brisket sausages. None of this is quick, either: he puts the whole trim at about 20 minutes, and his advice is "patience, patience, patience."
Seasoning and resting before it hits the smoker
Once it's trimmed, Ross seasons with three Royal Nova Company dry rubs (their SPG, Café Ember and Honey Anchor) plus coarse ground black pepper. He goes on liberally, on every side, working seasoning into every nook and cranny, because in his words this brisket is all about building bark.
How the rub goes on matters as much as which rub. Ross pats the seasoning in rather than rubbing it: "I know it is called a dry rub, but we want to pat it in." Rubbing tends to smear and clump the seasoning; patting presses it onto the surface where it stays. He keeps picking up the rub that falls onto the cutting board and patting it back on.
The seasoned brisket then goes into the refrigerator for about 3 to 4 hours before the cook to let the dry rub set. Over that time the salt in the rub draws out a little moisture, dissolves into it and starts moving into the meat, and the surface turns tacky so the seasoning holds once it's on the smoker.
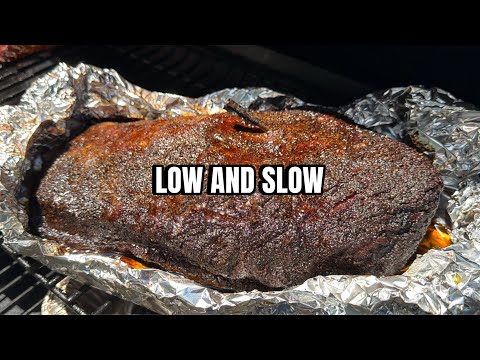
The smoke itself is covered in Ross's other brisket videos rather than this one, but he does show the result: prominent bark, a clear smoke ring, and slices he describes as juicy and tender. For a first trim the checklist is short: hard fat off, silver skin off the bottom, about a quarter inch left on top, every edge rounded, and no rushing.